A few months ago I got the itch to begin a new project in Unreal Engine 4. I’ve done several small projects in the past but this time around I wanted to take my project in a new direction and focus on trying to develop an automated process to build my game by utilizing Azure Devops. There are many different approaches that I could take but I ended up chosing to go the route of using a self hosted azure agent. Today I’ll go over the nessisary steps to create a self hosted azure agent that can build a Unreal Engine 4 project and then upload it to blob storage.
Step 1: Setup Visual Studio
Probably the most important step is setting up the system that will host the Azure build agent. Start by setting up Visual Studio 2019 as you would for any normal Unreal Engine project. You should make sure that the following C++ tools are installed via the Visual Studio Installer: C++ profiling tools, C++ AddressSanitizer, and Windows 10 SDK (10.0.18362 or Newer). Note: You may notice a checkbox for the Unreal Engine Installer. We won’t need this since in this guide I recommend building the engine from source instead.

This should be good enough for now but for more information you should reference the official Unreal Engine documentation for setting up visual studio here.
Step 2: Build the Engine
As mentioned in step 1 we will build the engine from source code. I won’t go into full detail here and Epic already has really good documentation on how to do this step which can be found here. Just follow those directions but instead of selecting the configuration for Development Editor select Shipping.
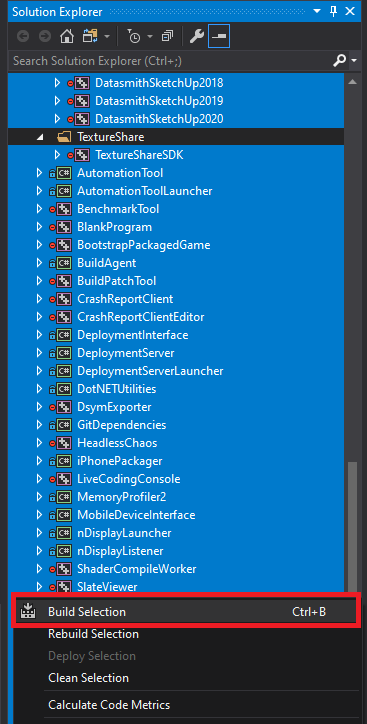
Once you have built the engine be sure to build all of the other related tools listed under the Programs folder. Simply select them all by using either ctrl + click or shift + click and then right click and select Build Selection.
Step 3: System Variables
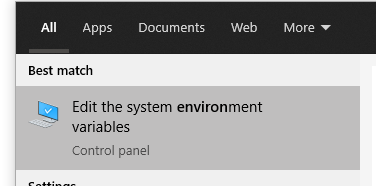
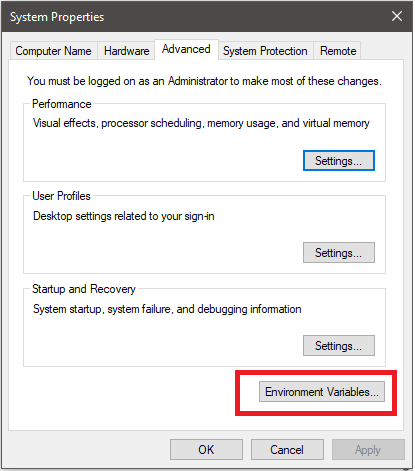
In order for the build agent to know that this machine is capable of building your game we will need to set a couple of system environment variables. To do this, first navigate to System Properties. The easiest way to do this on windows 10 is to search for “enviornment variables” (See below).
Now click on enviornment variables then click new:
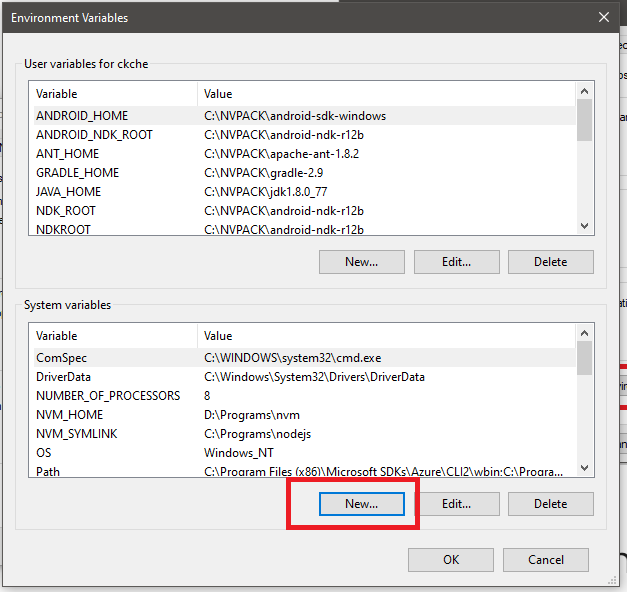
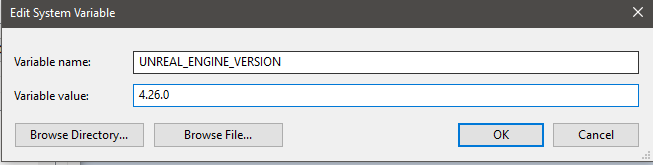
The first variable we will need to the Unreal Engine Version. For the variable name enter UNREAL_ENGINE_VERSION and for the value enter the current version of Unreal Engine that you built. In my case the version is 4.26.0:
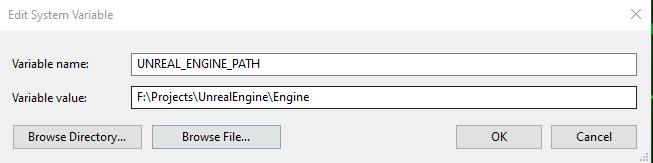
Click ok and then click new again to create our second variable. This time enter UNREAL_ENGINE_PATH. This variable will be referenced by the build pipline to know where to find the engine to build our game. For the value click browse directory, navigate to the root engine folder (this is the folder with the engine solution file in it), and then select the Engine folder:
Step 4: Setup the Build Agent
Now that we have our environment variables in place we need to install and configure the actual build agent. The process for this is fairly straightforward and very well documented so I won’t go into detail here but just follow the offical Microsoft documentation found here. Make sure to take note of the name of the agent pool that you create/use as we will need it later.
Step 5: Install the Azure CLI
One of the main downsides to a self hosted agent is that we must install all required tools ourselves. One such tool that we need is Azure CLI. We will use this tool to copy the compiled .zip folder of our game into blob storage. The process is very simple and you can download it/see instructions for instalation here.
Step 6: Create the Blob Storage Account
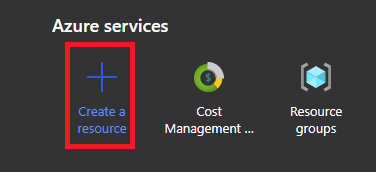
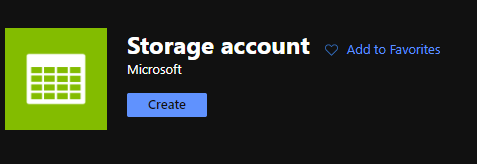
Next we will setup our storage account where we will save our compiled game. To begin navigate to portal.azure.com. Click on “Create a resource” and search for storage account and click “Create”.
Fill out all of the required information (subuscription, resource group, name, etc.) and click on “Review + create”.
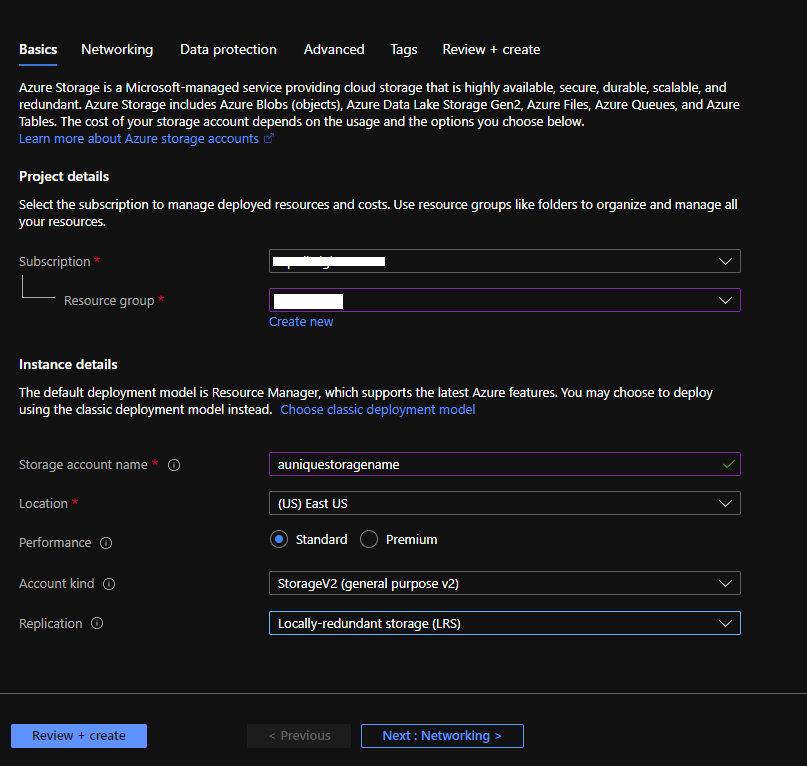
Once your storage account has been created navigate to it in the portal (there is a search bar at the top of the screen). Now on the left navigate to “Properties” and copy the blob service url. We will need it later.

Step 7: Create a Starter Project
The last piece of setup we need to do before we can create our pipline is to actually create a project to build. If you already have a project you want to use then you are good to go otherwise start up your newly compiled engine and select
Step 8: Create the Pipline
To begin create a new file in the root folder of you project called pipeline.yaml. Add the following to the file:
trigger:
  batch: true
  branches:
    include:
    - master

pool:
  name: UnrealEnginePool
  demands:
  - UNREAL_ENGINE_VERSION -equals 4.26.0
This will tell our pipeline to automatically trigger whenever something is pushed to master. The pool section tells the pipeline to use our self hosted agent that we defined earlier. Simply replace the name with the name you gave the pool. We also use the demands options here to specify that we want an agent that supports Unreal Engine Version 4.26.0. This should be set to whatever version you setup your agent for. This will ensure that our build only goes to an agent that can actually build the engine.
Now let’s create the actual pipline itself. Under the pool section we’ll add our build commands.
The first step is to generate the project files and build the game module. To do this we need to run the following UnrealBuildTool commands. Notice how we also are using the previously defined environment variable UNREAL_ENGINE_PATH so that we can run the build tool.
stages:
- stage: build
  displayName: Build
  jobs:
  - job: build
    displayName: Build & Package
    steps:
    - script: '"$(UNREAL_ENGINE_PATH)/Binaries/DotNET/UnrealBuildTool.exe" -projectfiles $(Build.SourcesDirectory)/Game/Game.uproject -game -rocket -progress'
      displayName: Generate Project Files
    - script: '"$(UNREAL_ENGINE_PATH)/Binaries/DotNET/UnrealBuildTool.exe" Shipping Win64 -Project="$(Build.SourcesDirectory)/Game/Game.uproject" -TargetType=Editor -Progress -NoEngineChanges -NoHotReloadFromIDE'
      displayName: Build Game Module
Next we use the RunUAT command to actually build and package the game. Make sure that you include the list of maps that you want to package with your game under the “-map” parameter. If you want to build your project as a dedicated server instead you can add the “-server” command and replace “-targetplatform” with “-serverplatform”.
- script: 'RunUAT BuildCookRun -project="$(Build.SourcesDirectory)/Game/Game.uproject" -noP4 -clientconfig=Shipping -serverconfig=Shipping -utf8output -platform=Win64 -targetplatform=Win64 -build -cook -map=Transition+TestWorld+Lobby+MainMenu -unversionedcookedcontent -pak -distribution -compressed -prereqs -stage -package -stagingdirectory="$(Build.SourcesDirectory)/Game/Saved/StagedBuilds/" -cmdline=" -Messaging" -compile'
      displayName: Package Client
      failOnStderr: true
      workingDirectory: '"$(UNREAL_ENGINE_PATH)/Build/BatchFiles"'
Now that our game is built we want to actually upload it somewhere. To do this we will zip the packaged game and upload it to blob storage. replace “mystorageaccount” with the name of your storage account and also be sure to specify the service connection to use. (If you need help creating a service connection refer to step #3 of my previous blog post on azure functions in python here).
- task: ArchiveFiles@2
      displayName: Archive Client Package
      inputs:
        rootFolderOrFile: '$(Build.SourcesDirectory)/Game/Saved/StagedBuilds/WindowsNoEditor'
        archiveType: 'zip'
        archiveFile: '$(Build.ArtifactStagingDirectory)/$(projectName)Client.zip'
- task: AzureCLI@2
  displayName: Publish Client to Azure Blob Storage
  inputs:
    azureSubscription: <Name of the Azure Resource Manager service connection>
    scriptType: pscore
    scriptLocation: inlineScript
    inlineScript: az storage blob upload --file "$(Build.ArtifactStagingDirectory)/$(projectName)Client.zip" --account-name mystorageaccount --container-name clientreleases --name game-client-$(Build.BuildId).zip
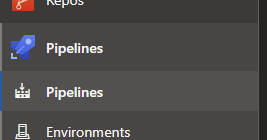
Finally we will actually create and run the pipeline in azure devops. To do this navigate to dev.azure.com and go to your project. If you havn’t setup an account or project before now go ahead and do this now.
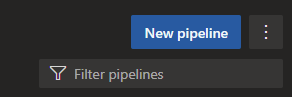
Once you are inside your project click on piplines and click “New pipeline”.
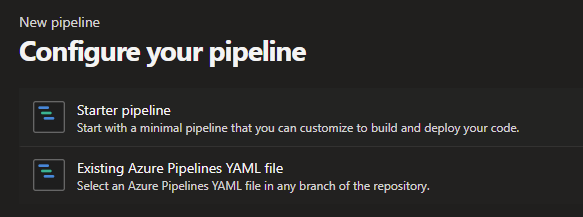
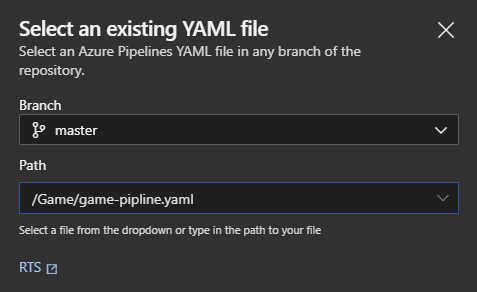
Next you’ll tell it where to find the code. In this case i’ll use Azure Repos. If you are storing your code for this project somewhere else you can select a different location as nessisary. Select the repo where your code is stored and then select “Existing Azure Pipelines YAML file”. Now you’ll simply select the pipline yaml file you made, click continue, and click run.


And that’s all there is to it! You should be able to run the pipeline and see the new blob show up under your storage account in the clientreleases container.
Final Thoughts
I found that this workflow worked really well for me personally. It was a bit tricky to get right at first but it’s definitely worth it to get CI/CD in place. The best part is that since it’s self hosted you don’t have to worry about long running builds eating up azure resources and costing you tons of money.
I should probably also mention that there are few interesting caviots to all of this. The first thing is that the workflow I described here will build incrementally as long as the same agent is used each time. This means that build times will be much faster after the first run. The downside is that sometimes strange behaviour can appear if a build fails for some reason. To remedy this in my own environment I added a parameter that I could pass into the pipeline that would conditionally clean the working directory so as to start fresh. To do this simply add the following script task to the start of your pipline:
- script: git clean -ffdx && git reset --hard HEAD
      displayName: Clean
      condition: eq('${{ parameters.clean }}', true)
The second caveot I should mention is that if any time you update Visual Studio or want to upgrade the version of Unreal Engine you will need to ensure that you rebuild the engine and all tools. (I would recomend and clean rebuild). Then you will need to clean the agent directory as mentioned above. Failing to do this can result in unpredictable build failures and bugs.
As always I have included several helpful resources below if you run into any trouble and don’t hesistate to let me know in the comments if you have any issues!
